
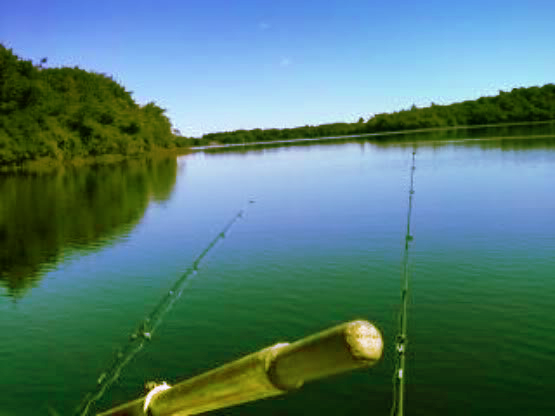
This is the Photo that i used
i got it form Photobucket.

1. File/Open as Layer and select
your Photo.

This is the photo.

2. Duplicate the Photo and
work with the Duplicated One.

3. Right Click On the Photo and
go to Colors/Curves.

Use the Red and arrange it like
this as shown below.

Now to to green and do the same
thing as shown below.

Now the blue and again
do the same thing
as shown below.

4. File/New
add the new layer
the background has to be white.

5.Set the layer
as Overlay

6. Grab your gradient tool
black to white and drag it to the new
layer how ever you like, up, down,
side to side or how ever it feels right to you.

7.As you can see on the screen shot
i did mines black up and the white down.
like i said you could do it how ever you like.

And this is how the final photo looks like
your might come out different but its alright
we have different ways that we like .
Thank you Bookmark and Enjoy...


0 comments:
Post a Comment