
1. File/New


3.The Background Color Has to be Black.
Get your text tool Foreground Color to White
Use any font you want and font size 40.

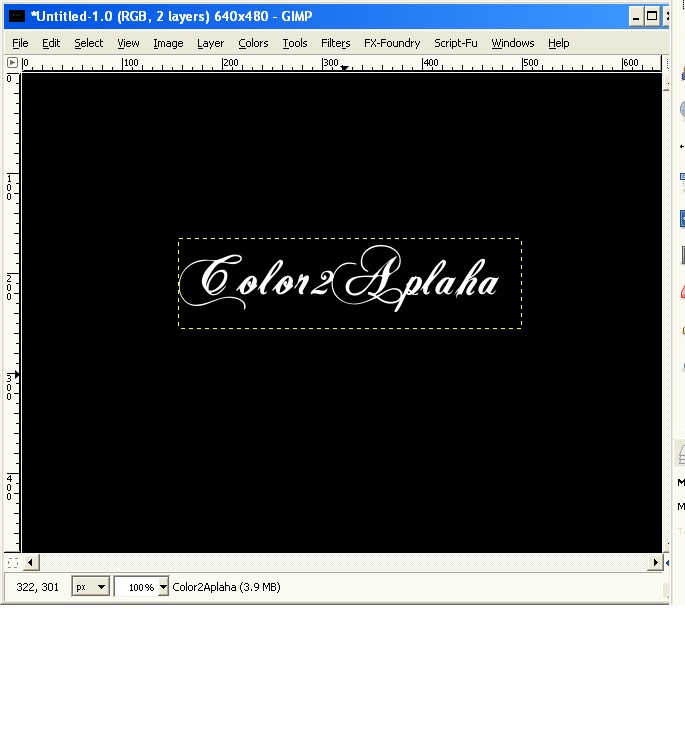
4.Grab your move tool and move your text to
the Middle of the layer.

5. Go to Layer/Layer to image size.

6.Now Duplicate your layers 4 times.

7. On the First Duplicate Layer Go to
Filters/Distort/wind
Filters/Distort/wind

For Style: Wind, Direction: right Edge effect: leading
threshold:5 Strength:20


8.Click on the second Duplicated layer
Go to Filters/Distort/wind

Keep all the same settings but this time
for the direction is left.

in the below.

9.Click on the Third duplicated layer
go to Layer/Transform/Rotate 90 degree angle
clockwise.


below.

and angle counter clockwise.

The image should look like the one below.

10. Now go to the last Duplicated layer
Go to Layer/Transform/Rotate 90 degree angle Clockwise.

It should look like the image below.

Now go to Filters/Distorts/Wind.

Keep the same settings but the Direction is right.

It should look like the one before.

Now go to Layer/Transform/Rotate 90 degree angle
counter clockwise.

Your image should look like the one below.

11. Move the Original layer all the way to the top

Right click on the layer and go to
Alpha to Selection.

You can see that you have selected the font.
shown on the image below.

Now you add a new layer and name it outline.

Then go to Select Grow.

And Grow it by 2 Pixels.
and click OK.
when you've done that move the new layer
to the bottom of the original.

12.Grab the Bucket Fill Tool choose the color as black.

13. Go to Select/None

It should look like this.

14. Go to Filters/Blur/Motion Blur

Blur it by 5
Angle by 5

Your image should look like this.

Now Press Ctrl M to merge all
the layers.

Like so it would look like one layer
in your layer dialog.

15. For the Final Step
Go to Colors
You could use Colorize or Color balance

As you can see i used Colorize it's your choice
to what you want to choose.and press OK.

And here it the Final Image :)
Bookmark and enjoy
I hoped you liked this Simple Tutorial.


0 comments:
Post a Comment