Friday, January 21, 2011

How to make a Melt text effect

 1. open a new canvas at 1024x768 :100 ppi
 2. make a new layer ,grab your blend tool set the color at whatever but make sure the second color in the gradient is the same color but a darker or lighter shade
 3. on the new layer with the blend tool click at the top and stop a little more than mid way down
 4. make a new layer and set the blend tool mode to radial as the fg color as black and set the gradient mode to fg to alpha ,then click the <-> box next to change the gradient to reverse
 5.then choose your new layer and from the middle of the canvas click and draw a line to the outer corner of the canvas ,it should look like so, turn opacity to 90.0
 6.grab you text tool pick your font .set the size at 360 px
7.make a new layer, place it under the text layer and right click the text layer and merge it down
8.use your move tool set it to move layer and move it to the middle of the canvas
 9. alpha to select the text layer and make a new layer under it then fill the selection on the new layer with white ,after fill the black text layer with an ice cream type of color like light pink or light blue
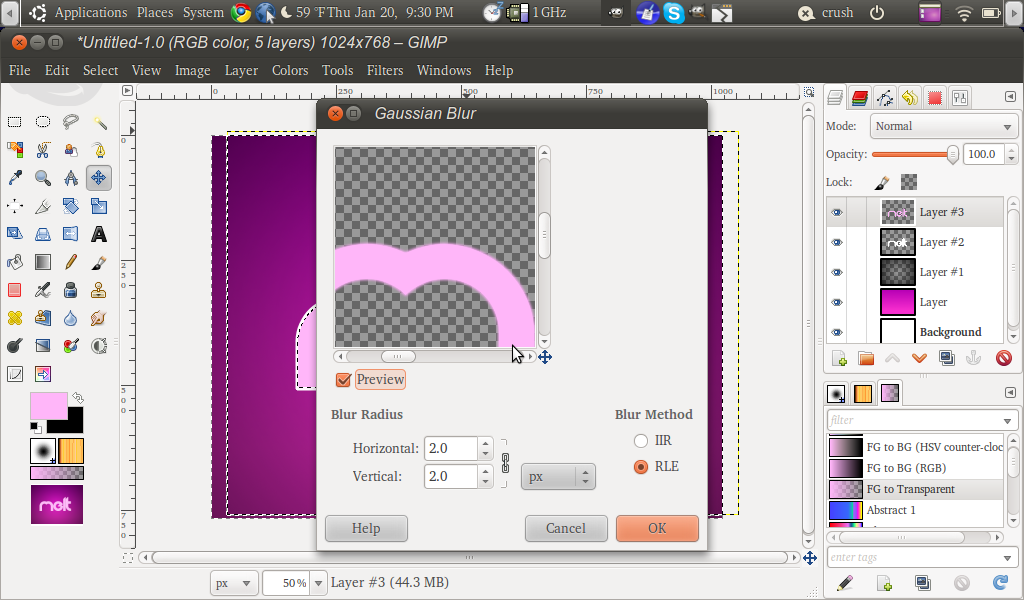
 10.alpha to select the the top text layer shrink the selection by 1 px after invert the selection and Gaussian blur by 2 px
 11. select none and merge down the two layers ,now click the layer and go to filters >distort>Iwarp deform radius :20 deform amount :30 do the m and the bottom of the e if your doing the  word melt like me
 12. next deform radius :10 deform amount :30 to do the l and the t base and small drips every where else
 13. click OK ,then duplicate it ,alpha select the newly duplicated layer and fill it with black ,then with your move tool move it down and to the left to make a 3d effect
 14. duplicate it again and Gaussian blur it by 35 pixels it should make a great shadow

 15. make a new layer under all the text layers and shadow layer choose your square select tool ,in the tool options  click the rounded corners box and radius at :100.0 px
 16.make a selection like the one in the screenshot,fill with Popsicle stick brown fde387
 17. make a new layer click on your bucket tool in the options set the fill type to pattern and select wood#1 pat fill and set the layer opacity at 40.0
 18. duplicate the stick layer alpha to select the duplicated layer and fill with a slightly darker brown then move it down a couple pixels
 19.duplicate it again fill the new stick with black and Gaussian blur by 35 PX

 20. go back to the top text layer and alpha to select it .shrink by 5 px then border by 3 px
 21.grab your blend tool UN tick the reverse box and make a line starting at the bottom to about halfway
22.set the layer opacity to 40.0
 23.next go down to your stick layer under the pat layer with you text tool ,font size at 86 px and color red, right your stamp
 24. make a square selection ,then border it by 5 px fill with red
25.then alpha to select and scale it down
26.that's all ctrl+m to merge :) f**k I'm tired enjoy
27.after you merge all your layers duplicate the finished image and set the top image mode to multiply :)

Wednesday, January 19, 2011

How to make a great pattern :)

 1.open a new canvas at 12x12 or 12x6 ,small so the pattern can be made quickly and look pretty good :)

2. make a new layer
3. zoom in real close
4.make sqaure selection on your new layer and select the blend tool ,leave the color on white and black

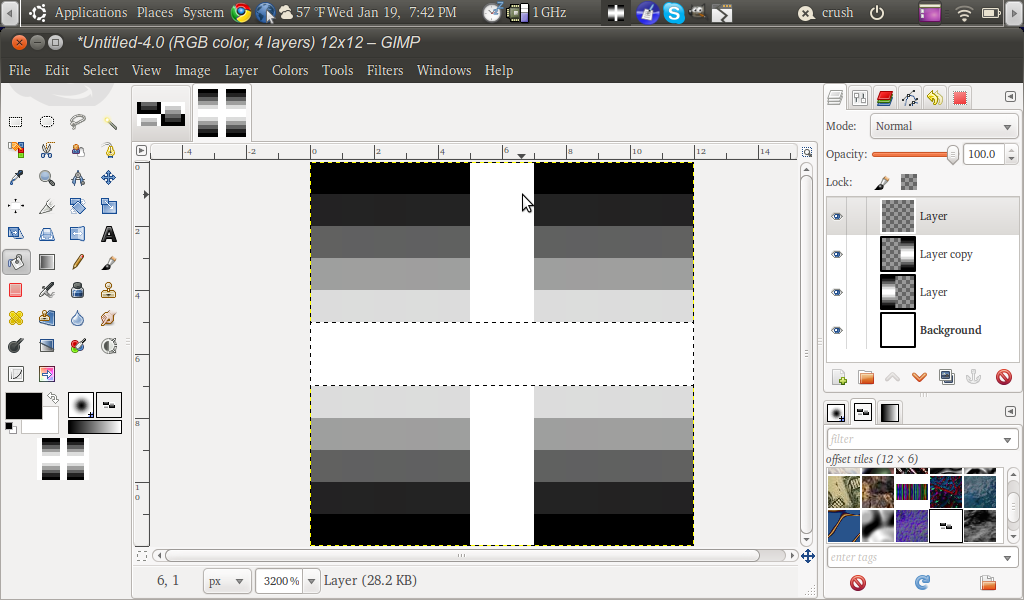
 5. with the blend tool make a downward line starting from the top hold ctrl to make a straight line draw the line all the way to the bottom but stop one pixel ffom the bottom of the selection :)
 6. duplicate the layer and select you flip tool ,on the tool options change the mode to vertical
 7.and filp your duplicated layer but remeber before to select none so it will filp to the bottom of the canvas and not filp inside the selection
 8.after merge those layers down by right clicking the top layer and clicking merge down
 9.after that duplicate the newly merged layer and with your filp tool set on horizontal flip it to look like so.
 10.then make a new layer and another square selection like so
 11.with your bucket tool set on fg color black and fill in the selection
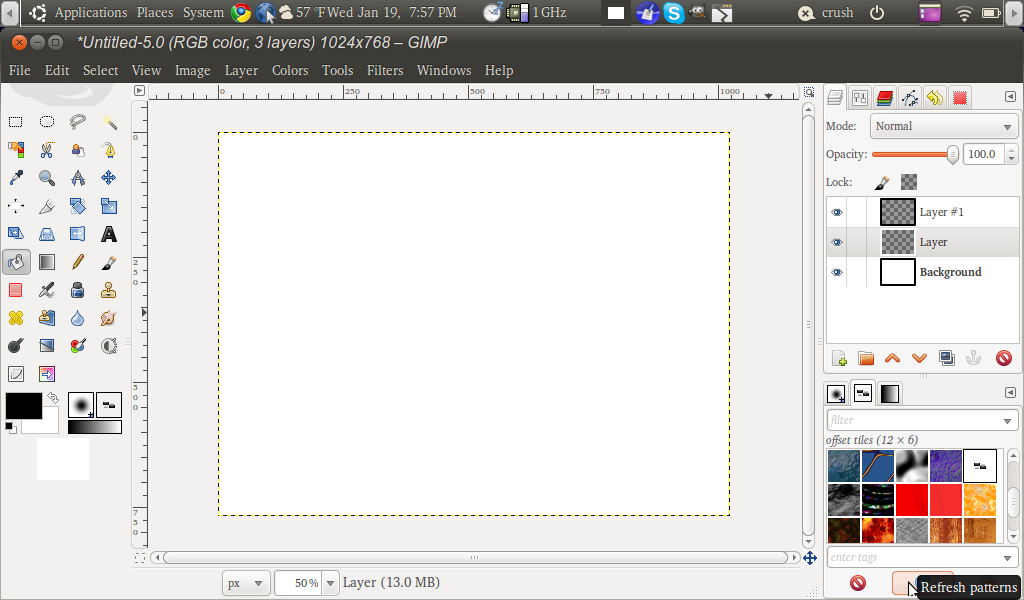
 12.ctrl+m to merge all and set it on clipped to botttom layer and save with the extesion .pat for pattern and place in your gimp pattern folder for linux its homefolder>gimp.2.6>pattern and for windows its C:// program files>gimp.2.6>2.0>gimp>2.0>share>patterns i think :) im not to sure for windows ill check soon after you place your patternclick the refresh botton and enjoy you new pattern on a much bigger canvas ,perfect for text backgrounds .just make a gradient layer and a layer with your pattern ,place the pattern on top set the layer mode as multiyply and duplicate the pattern layer and BAM perfect background for your text effects :) enjoy and bookmark


Monday, January 17, 2011

How to make a metal outline 3D text effect with Gimp


The screenshots will be posted tomorrow.(:
But here are the Instructions on how to do it
Hope you'll like it :)


1. File/New
Image size 600 by 400 pixels
or however image size you like.

2. Change your Background Color to Black
Set you're Foreground Color to what ever color you may want

3. Get your Blend Tool and change the Shape 
To Radial.

4. Click on the middle of the Canvas and drag
it to one of the corners.

5. Make a new layer
for this next step use a pattern 
Grab you're bucket fill tool ( make sure that the fill
type is on pattern fill) 

6. Set the layer mode to Soft Light
and lower the Opacity to 50 or 60 %.

7. Click on the Text tool make sure the Foreground
Color is white the Size 160 or more it depends on you
and choose the Font of you're choice.
Type in you're text.

8. Get the Alignment tool
and change the  relative to: Image
now click on you're image and press the 
click the 2 middle ones to center you're text.

9. Go ahead and select rectangle tool,
Right click on you're text layer/ Alpha to selection 
and add a new layer.

10. Go to Select/Grow, and grow it by 10 
make sure that the foreground color is black
change the fill type to FG color Fill.
and fill in you're selection with black
on the new layer.

11.Make a new layer change your back ground color
to medium gray:808080

12. Get out you're blend tool and change the mode
to Linear.

13. Alpha to select the black layer then click on 
the new layer and click the bottom and drag up.

14.Then right click on the Text layer
Alpha to selection.

15. Go back to you're new layer with the gradient
then Select/grow, grow by 2 pixels press ok
then press Delete  on you're keyboard.

16. Alpha to selection on the gradient layer 

17. Add a new layer change you're foreground
color to white and you're background
color to Dark Gray:404040

18. Grab your blend tool, using the same settings click on 
it and drag it down.

19. Go to Select/ Shrink by 1 pixel
press the Delete key to delete the rest of you're
selection.

20. Select/None
Set the Opacity to 60%.

21. Go back to the black layer and 
Duplicated twice 
on the bottoms 2 layers click on the chain button.
click on one of the layer and get
the move tool make sure that is checked
on the active layer.

22. Click on you're image use the 
down arrow key to move the 2 layers
down, move down like about 9 to 13 pixels.
(it would give it the 3d effect look)
then un check the 2 chains
make sure that the bottom layer is selected.

23. Then go to Filters/Blur/Gaussian Blur
and Blur it by 10 pixels.
you should still have the move tool selected 
click on the image again and move it down a couple
of pixels like 5 and set the layer opacity down to 80%.
24. Then select you're text layer and move it
3 layers up click on the text layer image
use the move tool, click on the layer, use the arrow down key
and move the text layer down by 3 pixels.
25. Make a new layer above everything else
26. Alpha to selection on the Gradient layer
click on the new layer.
27.Grab the Rectangle Select tool put the mode
to Intersect,
drag the rectangle and select half of the text 
Horizontally, to finalize the selection click
inside the rectangle.
28. Grab you're blend tool 
make sure that the foreground color is still white
use the gradient tool FG white to transparent
and drag it straight up.
29. Select none.
and there you go as shown below this is the 
medal 3D text effect. 
hope you enjoyed it
ill have the screenshots  soon
bookmark and enjoy.
  

Thursday, January 13, 2011

How to make a Lomo Photo effect with Gimp

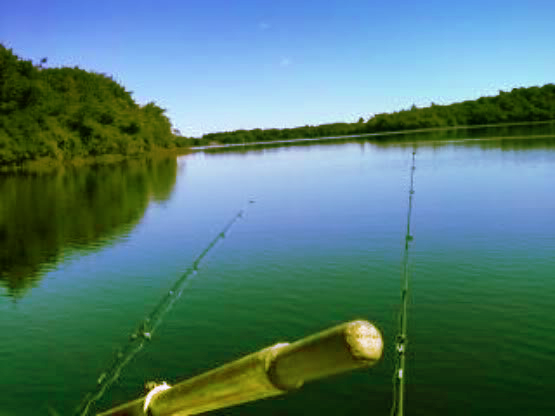
This is the Photo that i used
i got it form Photobucket.


1. File/Open as Layer and select 
your Photo.


This is the photo.


2. Duplicate the Photo and 
work with the Duplicated One.


3. Right Click On the Photo and 
go to Colors/Curves.

Use the Red and arrange it like 
this as shown below.

Now to to green and do the same 
thing as shown below.

Now the blue and again 
do the same thing
as shown below.

4. File/New
add the new layer
the background has to be white.

5.Set the layer
as Overlay


6. Grab your gradient tool
black to white and drag it to the new
layer how ever you like, up, down,
side to side or how ever it feels right to you.

7.As you can see on the screen shot
i did mines black up and the white down.
like i said you could do it how ever you like.

And this is how the final photo looks like
your might come out different but its alright 
we have different ways that we like .
Thank you Bookmark and Enjoy...